Chalkboards are all the rage right now. I see them in all sorts of cute tables, jar lids, signs and more. I admit, I kind of like it! I’ve always been a fan of font type and chalkboard art. Once again, I was inspired by Pinterest for the chalk art but first I had to create a chalkboard surface somewhere!
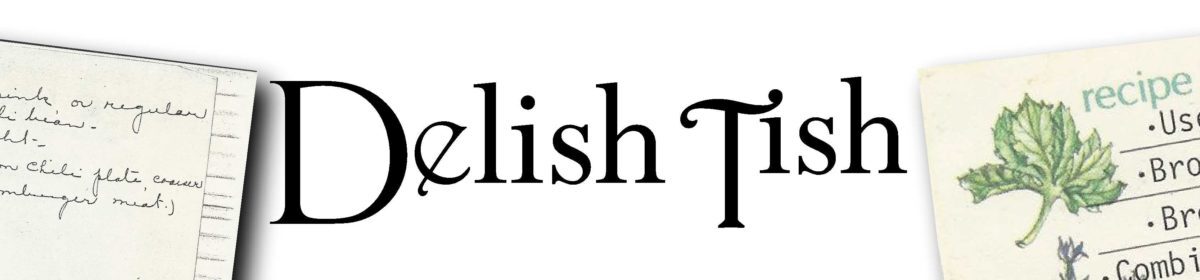
I live in a 1920’s bungalow and I was in need of a decorating update. My dining area had become a dumping ground for unfinished projects and wishful ideas. I wanted to redo this area to be livable, not a reminder of my lack of completing projects and most of all, functional for entertaining.
My dad gave me his old drafting table several years ago and I knew that I wanted to continue using it in this area but I needed to clear it off and figure out how to make it work for entertaining? I decided to float it in the middle of the room and add some bar stools for that “office” pub feel.
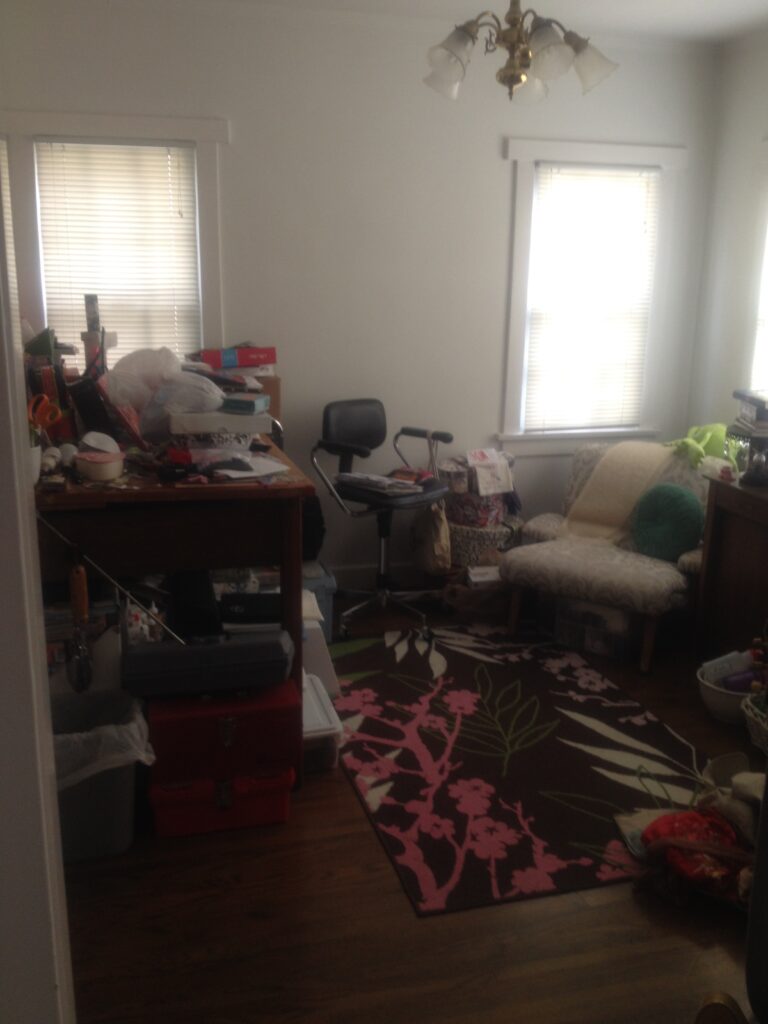
So I cleared this area by mainly putting all of the craft supplies in the garage and getting rid of useless stuff, lots of useless stuff. Once I got the room cleared and set it up generally how I wanted it to live, I felt it needed a focal point but didn’t want to spend any money or very little and I also didn’t want to hang anything heavy. At first I was going to paint something on the wall but there was a couple of things wrong with that idea. 1. I’ve never really painted anything and 2. I change my mind sometimes…what if I hated it in a week?
I decided I wanted a painted chalkboard on the wall so I could experiment with font types and designs anytime that I wanted. If my experiments failed, I could always invite visitors to sign or leave a phrase or I could practice my math tables.
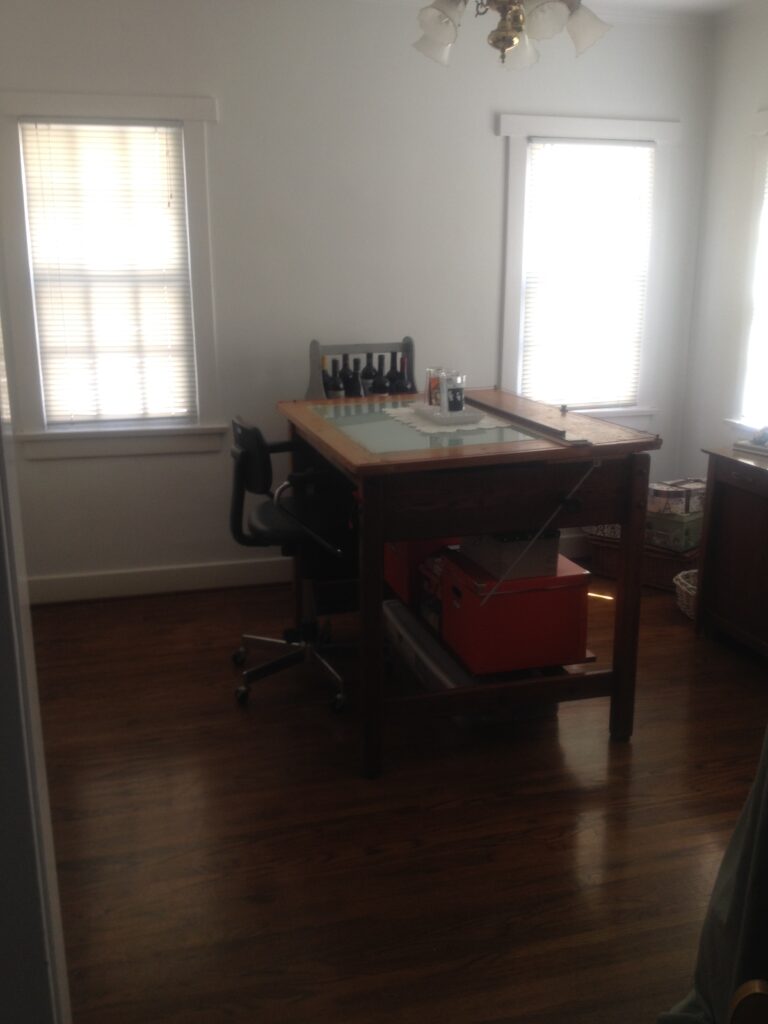
From the cleaning exercise, I remembered I had large pads of papers from yesteryear art classes. I taped them carefully together and then cut a border so it would be symmetrical when I placed it on the wall. I used the paper first so that I could determine the scale and not make a ton of pencil marks on my wall. I was avoiding more cleaning, if that was possible.
I taped the paper on the wall and made sure it was evenly placed between my windows and at the right height. I then traced a thin pencil line on the wall so I could paint within the line.
I went to my local OSH store and discovered that you can get chalk paint in any color that you wanted. Why did they tell me that? After I stopped my head from spinning, I decided that I wanted a classic chalkboard but not quite a saturated black color, slightly lighter. I went with a classic grey chalkboard color, the slate color that could be found in a little red schoolhouse.
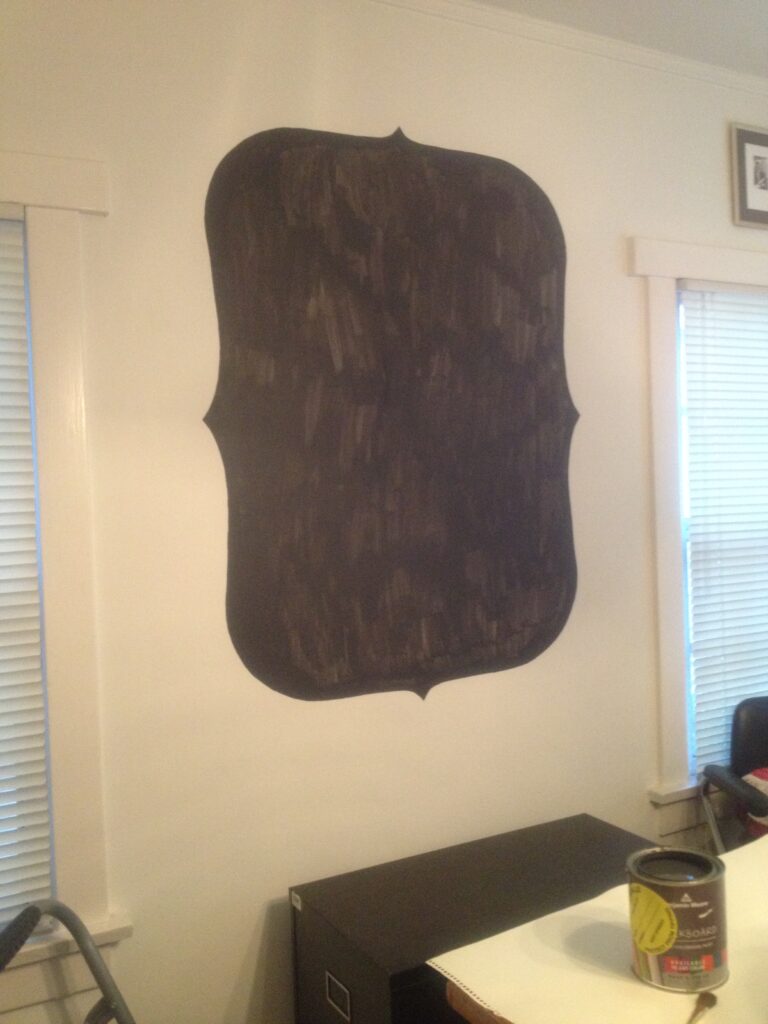
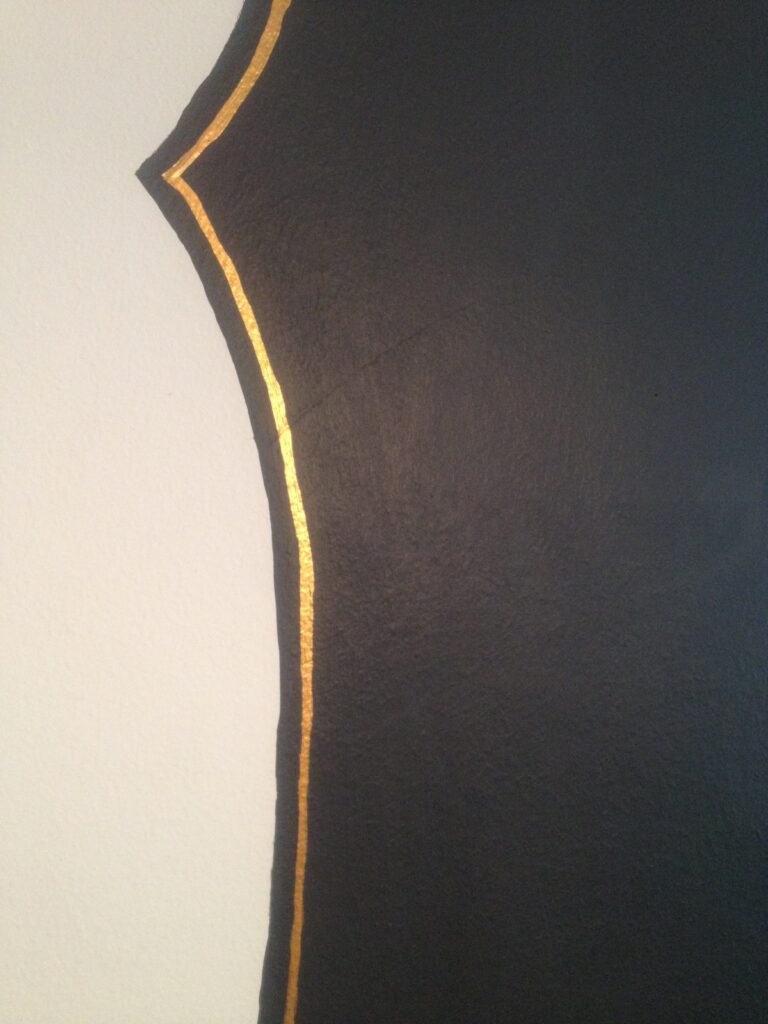
It took about 4 coats of chalkboard paint to really cover the area well. I wanted another detail to make the design stand out and add a little glimmer. I added a metallic gold trim line to the edge. I just hand painted this and didn’t create a template for it. When I did it, I was a little disappointed that it wasn’t perfect but now I like the imperfection of the hand painted trim. The line isn’t exact and changes thickness a bit, but from a distance it looks good.
Once the chalk paint was dry for about 24 hours, I had to rub chalk over the entire surface and wipe it off. That was per the instructions, so I did that. I think it had to cure again for about 24 hours before I decided to chalk it up with something fancy.

Like I said, Pinterest inspired me again. This picture is a much bigger format of what I could do with my little chalk space, but it was the inspiration. (DelishTish pinterest boards coming soon)
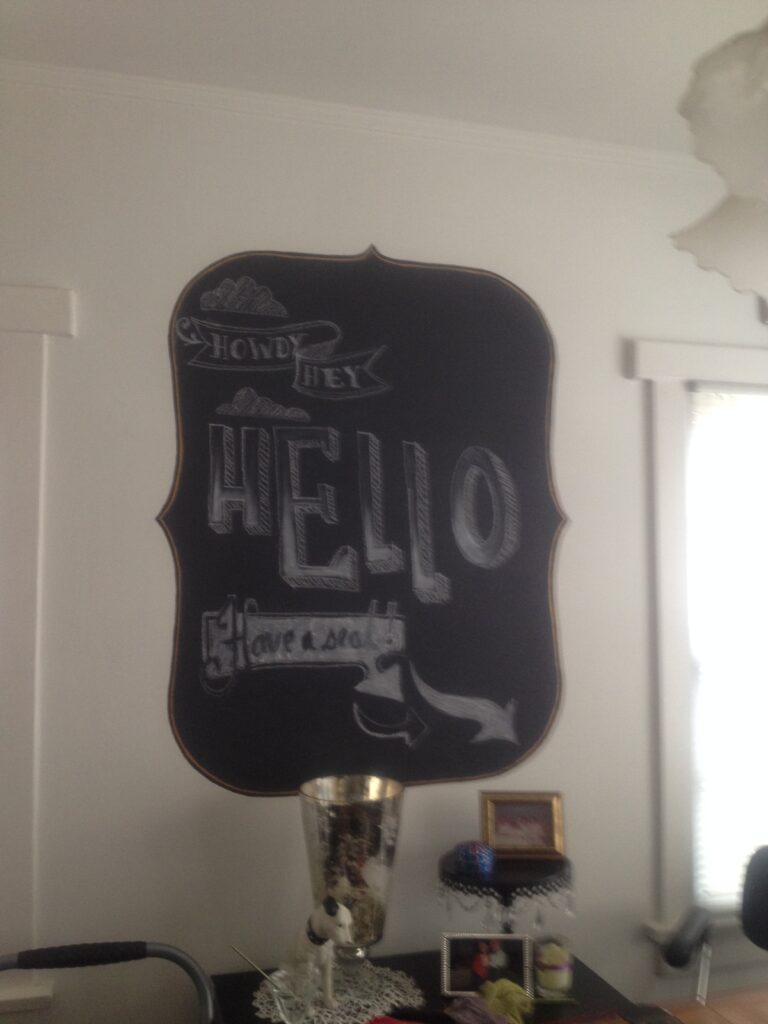
I wasn’t sure I could copy or get anywhere close to this design, but it was chalk so if I hated it…erase. I started in the middle with the Hello and then just kept adding elements around it. I used old fashion chalk, not a chalk pen or any other new fangled chalk writing utensil. Chalk, a wet rag, dry rag and my hands were all I needed. My costs for the project were about $20 for the paint and some foam brushes.
Here’s a few photos of each stage.
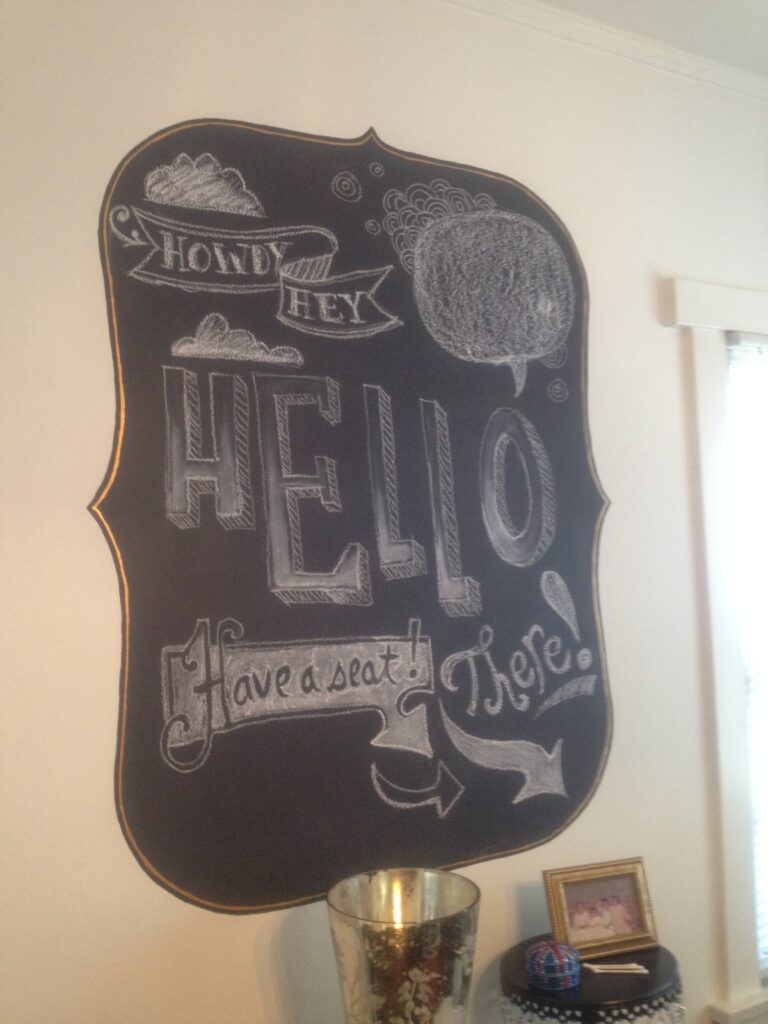
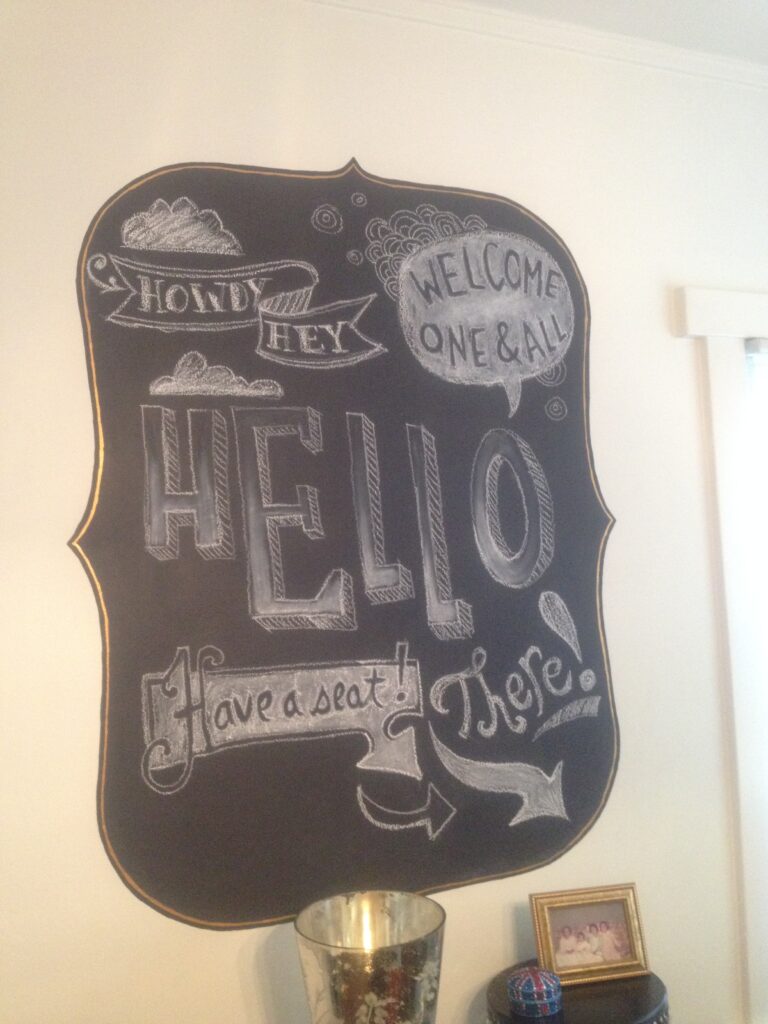
I think in the end it came out well. I haven’t changed the artwork on the board yet, but if it changes…you may just see a post about it!
